Manish Singh
Instant Pot Chicken Thighs: Best Juicy Recipes
Discover how to cook tender, flavorful poultry with these reliable instant pot recipes chicken thighs. From crispy skin tricks to rich pan sauces, learn the secrets to foolproof weeknight dinners.
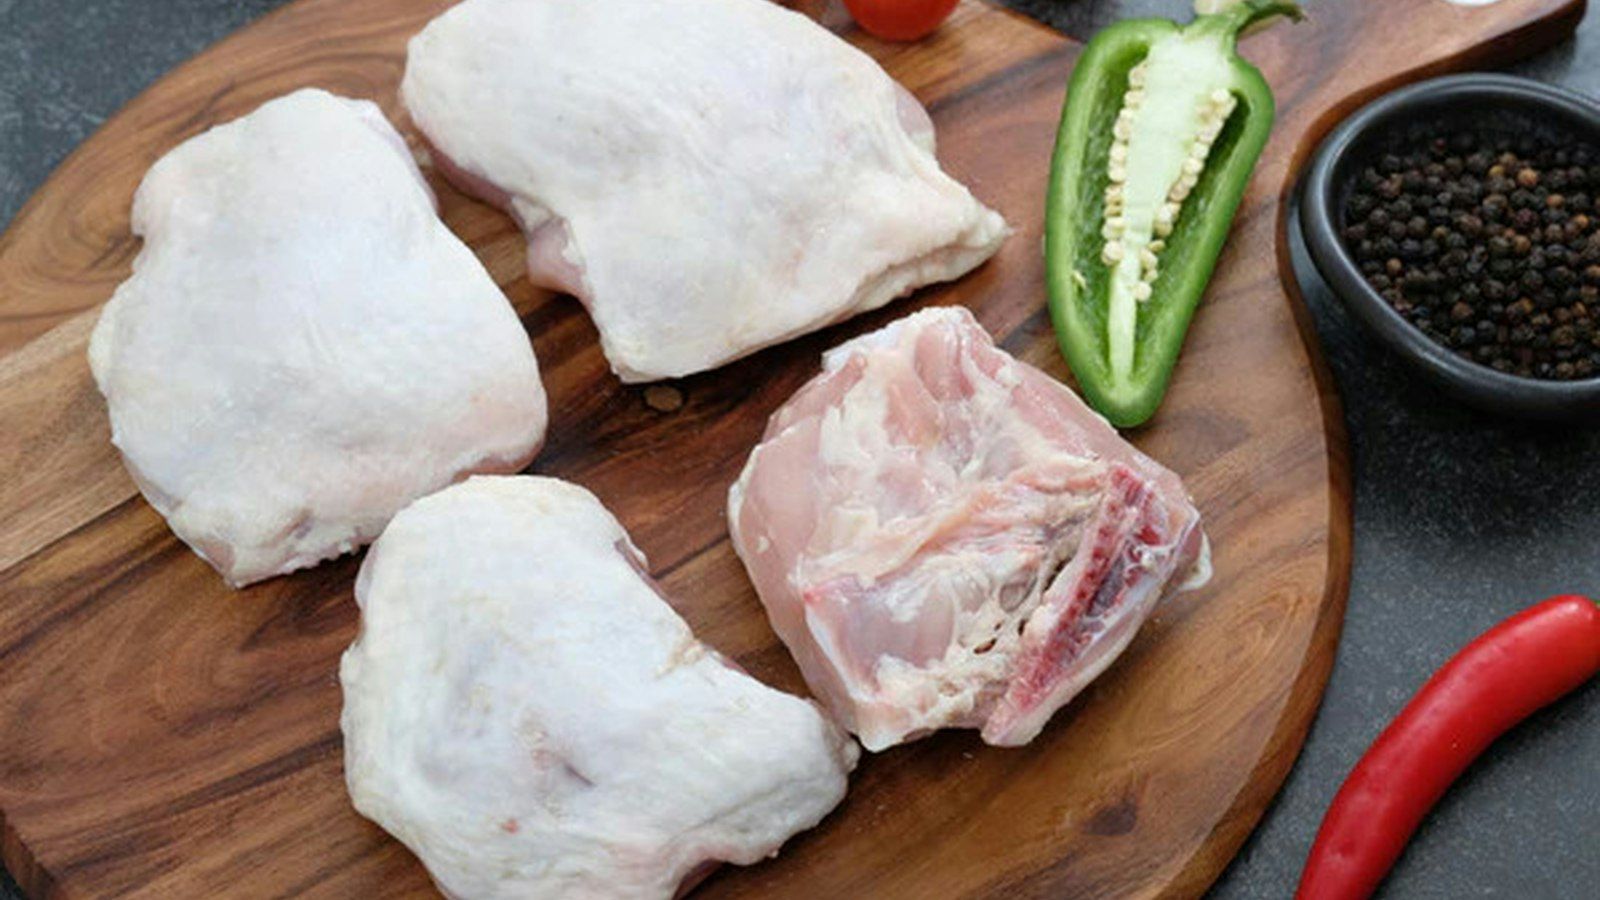
When dinner needs to be fast, flavorful, and completely stress-free, exploring instant pot recipes chicken thighs is one of the smartest moves any home cook can make. Chicken thighs are naturally rich, forgiving, and packed with moisture, making them the absolute champion of electric pressure cooking. Unlike lean cuts that dry out in the blink of an eye, thighs soak up aromatics, tenderize under steam, and yield a luscious, savory sauce every single time.
Whether you are preparing a quick post-work meal for your family or batch-cooking protein for the week ahead, pressure cooking transforms this economical cut into restaurant-quality comfort food with minimal hands-on effort.
Key Takeaways
- Forgiving cut: The higher fat and connective tissue content in dark meat ensures thighs remain juicy, even if left under pressure a few minutes longer than planned.
- Sear for flavor: Always use the sauté setting first to build a deep fond (browned bits) on the bottom of the pot.
- Deglaze thoroughly: Scraping the pot base with liquid after searing prevents the dreaded "burn" error message.
- Natural release matters: Allowing the cooker to naturally release pressure for at least 5 to 10 minutes keeps the meat supple and locks in natural juices.
- Skin-crisping hack: A quick flash under your oven's broiler easily restores crispy skin that steam naturally softens.
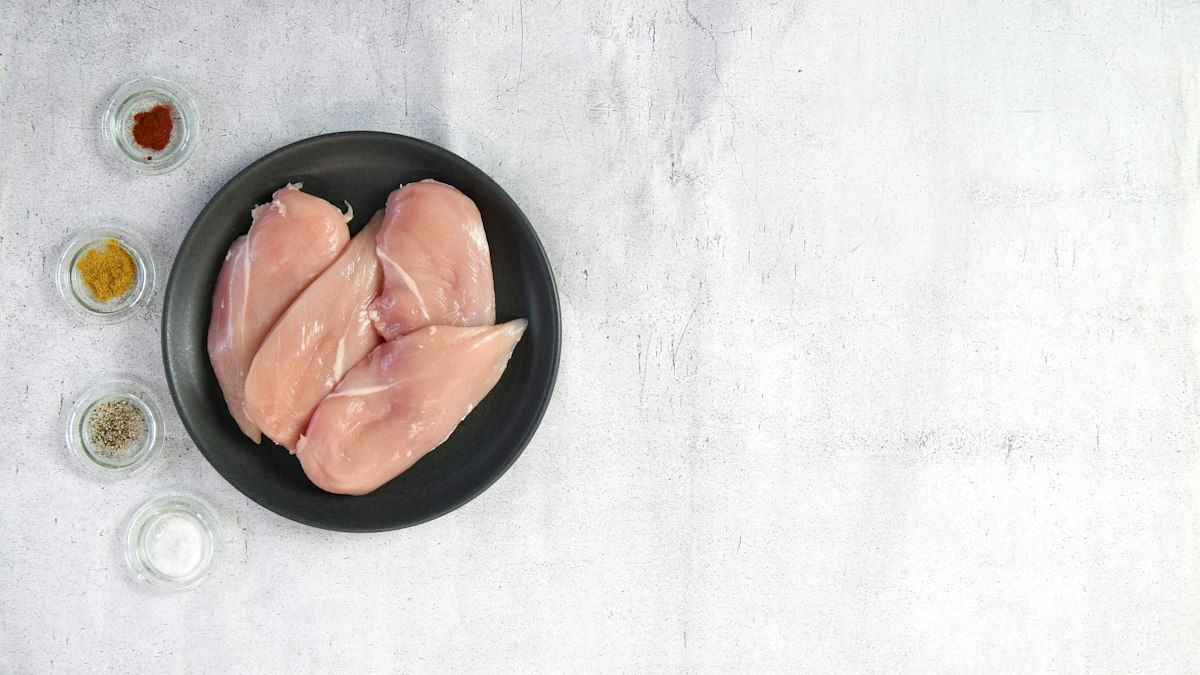
Photo by Philippe Zuber on Unsplash
Why Chicken Thighs Excel Under Pressure
Electric pressure cookers use steam and intense atmospheric pressure to force heat into ingredients quickly. While this method can sometimes leave lean chicken breasts stringy or chalky, it works wonders on chicken thighs.
The Science of Dark Meat
Chicken thighs contain more myoglobin (which gives dark meat its color) and significantly more collagen than white meat. Under the moist, high-heat environment of a sealed pressure cooker, tough collagen breaks down rapidly into rich gelatin. This process bastes the meat from the inside out, creating that meltingly tender texture everyone loves.
Bone-In vs. Boneless
Both styles shine in an electric pressure cooker, but they offer slightly different advantages:
- Bone-in, skin-on thighs: Deliver unmatched richness because the bones infuse the cooking liquid with deep flavor, while the skin helps retain internal moisture. They require a few extra minutes of cook time and benefit greatly from a post-cook broil.
- Boneless, skinless thighs: Cook in roughly half the time and are ideal for shredding into tacos, grain bowls, soups, or sandwiches. They soak up marinades and thin pan juices exceptionally well.
Cook Times and Pressure Settings Guide
Achieving perfect doneness requires matching the style of meat with the proper cook cycle. Always cook on High Pressure and ensure your sealing valve is closed.
- Boneless, Skinless Thighs (Fresh): Cook for 8 to 10 minutes. Follow with a 5-minute natural release, then vent remaining steam.
- Bone-In, Skin-On Thighs (Fresh): Cook for 12 to 14 minutes. Follow with a 10-minute natural release.
- Boneless Thighs (Frozen): Cook for 12 to 14 minutes with a 5-minute natural release.
- Bone-In Thighs (Frozen): Cook for 18 to 20 minutes with a 10-minute natural release.
*Note on internal temperature:* Always confirm that the thickest part of the meat reaches at least 165°F [74°C] using an instant-read meat thermometer, though dark meat often tastes best and most tender when cooked to 175°F–180°F [79°C–82°C].
Master Technique: Garlic Herb Butter Chicken Thighs
This core recipe serves four and demonstrates the fundamental technique behind almost all great instant pot recipes chicken thighs.
Ingredients
- 2 lbs [900 g] bone-in, skin-on chicken thighs (about 4 to 6 thighs)
- 1 tsp [5 g] kosher salt
- 1/2 tsp [2 g] freshly cracked black pepper
- 1 tsp [3 g] garlic powder
- 1 tsp [2 g] smoked paprika
- 1 tbsp [15 ml] olive oil
- 2 tbsp [30 g] unsalted butter
- 4 cloves garlic, minced
- 1/2 cup [120 ml] low-sodium chicken broth
- 1 tbsp [15 ml] fresh lemon juice
- 1 tbsp [4 g] chopped fresh parsley
Step-by-Step Instructions
- Season the meat: Pat the thighs completely dry with paper towels. In a small ramekin, mix the salt, black pepper, garlic powder, and smoked paprika. Rub the spice blend evenly over all sides of the chicken.
- Sear until golden: Set your electric cooker to the Sauté function and add the olive oil. Once hot and shimmering, place the chicken thighs skin-side down in a single layer. Sear undisturbed for 4 to 5 minutes until the skin turns deep golden-brown. Flip and sear the reverse side for 2 minutes. Transfer the chicken to a plate (the meat will not be cooked through yet).
- Deglaze the base: Add the butter and minced garlic to the pot, stirring for 30 seconds until fragrant. Pour in the chicken broth and lemon juice. Use a wooden spoon to firmly scrape up all browned bits stuck to the bottom of the stainless steel liner. This step is essential to avoid triggering the burn sensor.
- Pressure cook: Place the chicken back into the cooker, skin-side up, resting partially above the liquid. Lock the lid in place, set the vent to Sealing, and program the machine for 12 minutes on High Pressure.
- Release pressure: Once the cycle finishes, allow the pot to sit undisturbed for a 10-minute natural pressure release. Then, carefully switch the valve to Venting to release any remaining steam. Remove the lid away from your face.
- Optional crisping step: For crackling, crispy skin, transfer the cooked thighs to a rimmed baking sheet and broil under your oven's top heating element at 425°F [220°C] for 3 to 4 minutes.
- Reduce the sauce: While the chicken broils, switch the cooker back to Sauté. Simmer the remaining cooking liquid for 3 to 5 minutes until it reduces slightly into a glossy sauce. Spoon over the warm thighs and garnish with chopped parsley.
Easy Flavor Variations for Weeknight Variety
Once you master the base technique, changing the flavor profile is simple. Here are four quick twists:
1. Sweet Honey Dijon
Swap the lemon juice for 2 tbsp [30 ml] of whole-grain mustard and 2 tbsp [40 g] of honey. Stir an extra teaspoon of Dijon into the reduced liquid at the end for a tangy, glossy glaze that coats every bite.
2. Smoky Shredded Barbecue
Use 2 lbs [900 g] of boneless, skinless thighs. Season with a sweet barbecue rub, add 1/3 cup [80 ml] of apple cider vinegar and broth, and pressure cook for 10 minutes. Quick release after 5 minutes, shred the tender meat directly in the pot with two forks, and stir in 1 cup [240 ml] of your favorite barbecue sauce.
3. Zesty Salsa Verde Pulled Chicken
Place boneless thighs in the pot with 1 cup [240 ml] of jarred tomatillo salsa verde, 1 tsp [3 g] ground cumin, and 1/2 tsp [1 g] dried oregano (no extra broth required). Cook for 9 minutes, release pressure, shred, and finish with a squeeze of fresh lime juice and chopped cilantro for instant taco filling.
4. Creamy Tomato and Basil
Cook boneless thighs in 1/2 cup [120 ml] of crushed canned tomatoes, 1/4 cup [60 ml] of chicken stock, and dried Italian herbs. After pressure cooking, stir in 3 tbsp [45 ml] of heavy cream or full-fat coconut milk and a handful of freshly torn basil leaves.
Common Mistakes to Avoid
- Skipping the sear: While pressure cooking cooks meat thoroughly, it cannot create the Maillard reaction. Searing beforehand introduces savory complexity that simple steaming cannot match.
- Neglecting to deglaze: Any starch or browned protein left baked onto the bottom of the inner cooking pot will cause the appliance to overheat and stop with a burn notification. Always pour liquid in and scrape clean before pressure cooking.
- Using too much liquid: Electric pressure cookers operate as completely sealed systems, meaning very little steam evaporates during cooking. If you add multiple cups of liquid, your resulting sauce will taste diluted and watery. Stick to 1/2 cup to 3/4 cup [120 ml to 180 ml] unless making soup.
- Rushing the pressure release: Flipping the valve immediately to Venting can cause the liquid inside the meat fibers to boil vigorously, forcing out moisture and leaving the chicken stringy. Give it at least 5 to 10 minutes of natural rest.
Make-Ahead, Storage, and Reheating Advice
Chicken thighs cooked in a pressure cooker hold up exceptionally well for weekly meal prep.
- Refrigeration: Store cooled chicken and pan juices together in an airtight glass container for up to 4 days. Keeping the meat submerged in its sauce protects it from drying out.
- Freezing: Cooked thighs freeze beautifully for up to 3 months. Let the dish cool completely, portion into freezer-safe containers or silicone bags, and freeze with sauce. Thaw overnight in the refrigerator before reheating.
- Reheating: Reheat gently on the stovetop over medium-low heat with a splash of water or broth, or warm in a 325°F [165°C] oven covered with foil for 15 minutes. Avoid prolonged microwave heating, which can toughen the protein.
FAQs
Can you cook frozen chicken thighs in an electric pressure cooker?
Yes, you can cook frozen thighs safely without thawing first. Add 2 to 4 minutes to the high-pressure cook time for boneless cuts, or 5 to 6 minutes for bone-in cuts. Keep in mind that frozen thighs will release additional water as they thaw, so the final sauce may need a few extra minutes of sautéing to reduce.
Why did my chicken thighs turn out tough or rubbery?
If chicken thighs feel tough, they are almost always undercooked rather than overcooked. Dark meat requires sufficient time and heat to allow internal connective collagen to break down into tender gelatin. Return the thighs to the cooker for an additional 2 to 3 minutes under high pressure to soften them up.
How do you get crispy skin when pressure cooking?
Pressure cookers cook using wet steam, which naturally softens poultry skin. To restore a crisp exterior, place the cooked thighs on a sheet pan under an oven broiler set to high for 3 to 4 minutes right after pressure cooking until bubbly and crisp.
How much liquid is required to safely build pressure?
Most standard 6-quart electric pressure cookers require a minimum of 1/2 cup [120 ml] to 1 cup [240 ml] of thin cooking liquid (such as broth, wine, or water) to produce enough steam to seal the valve and reach proper pressure safely.
Want a custom recipe for any dish?
Try our AI Recipe GeneratorLatest Articles
- Easy Taco Recipes with Rotisserie Chicken in 20 MinsTransform a supermarket rotisserie chicken into quick, mouthwatering Mexican-style dinners. Explore four versatile taco recipes, homemade seasoning methods, and essential prep tips for weeknight success.
- Quick Lunch Ideas for Work: Easy, Packable MealsSay goodbye to sad desk sandwiches and overpriced takeout. Explore fresh, flavorful, and incredibly quick lunch ideas for work that keep you energized all afternoon without spending hours in the kitchen.
- Easy No-Bake Dessert Recipes With Cream CheeseSkip the oven and satisfy your sweet tooth with these crowd-pleasing treats. From velvety mini cheesecakes to rich chocolate truffles, discover how versatile cream cheese can be.
Reader Insights
0 Discussions Joined
Be the first to start the conversation